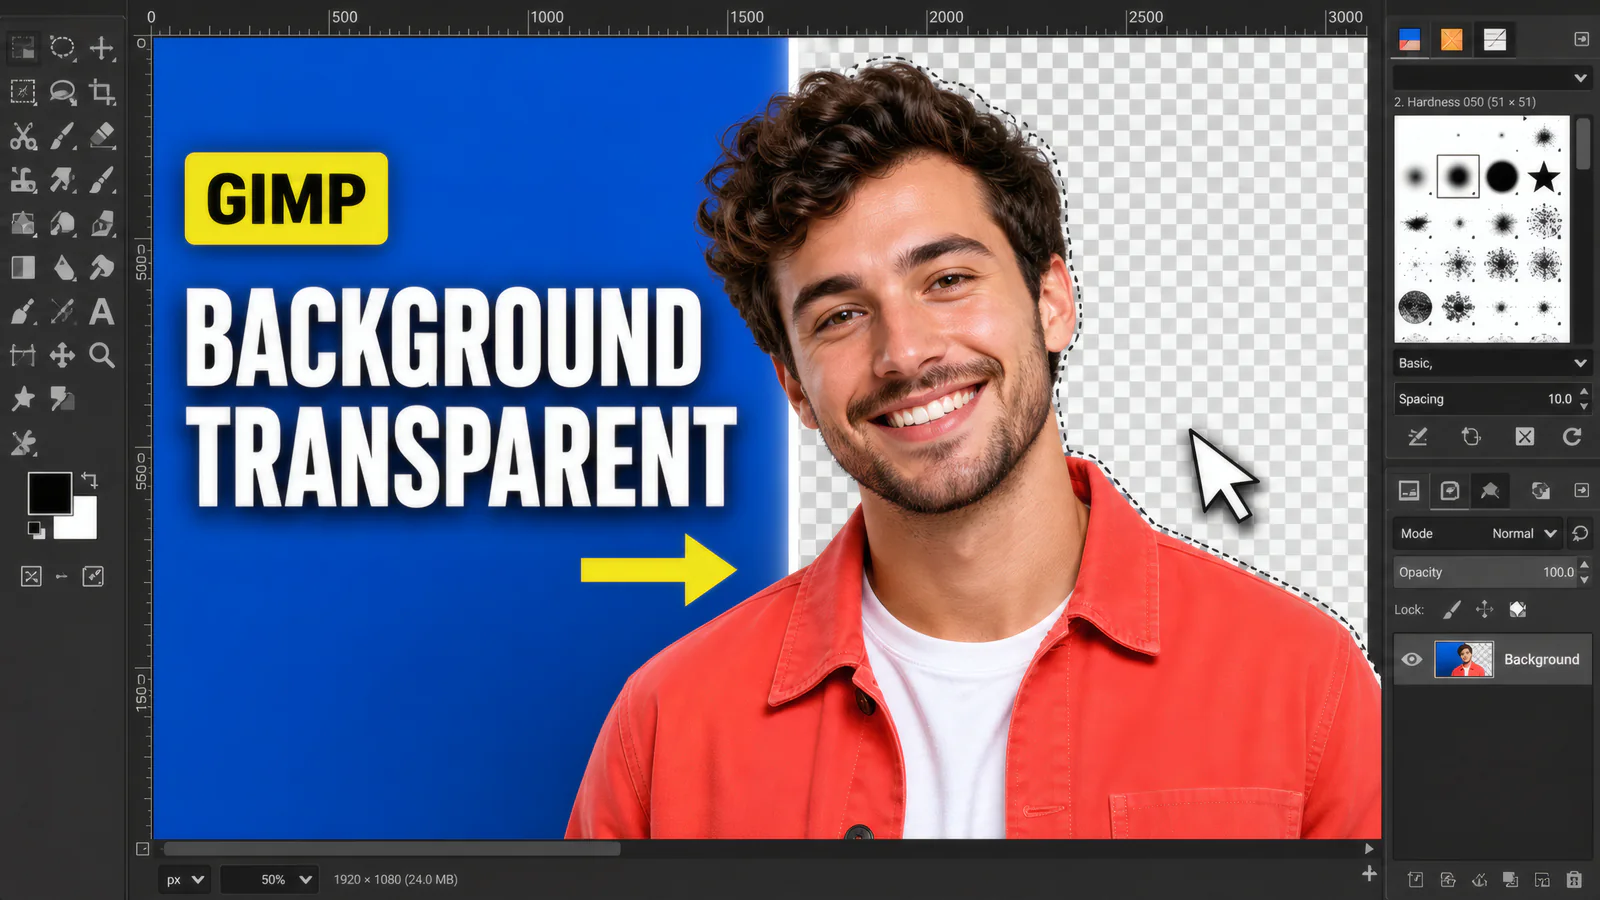
To make a background transparent in GIMP you need an alpha channel first, and GIMP won't warn you when it's missing. It deletes the background into solid white and calls it a day.
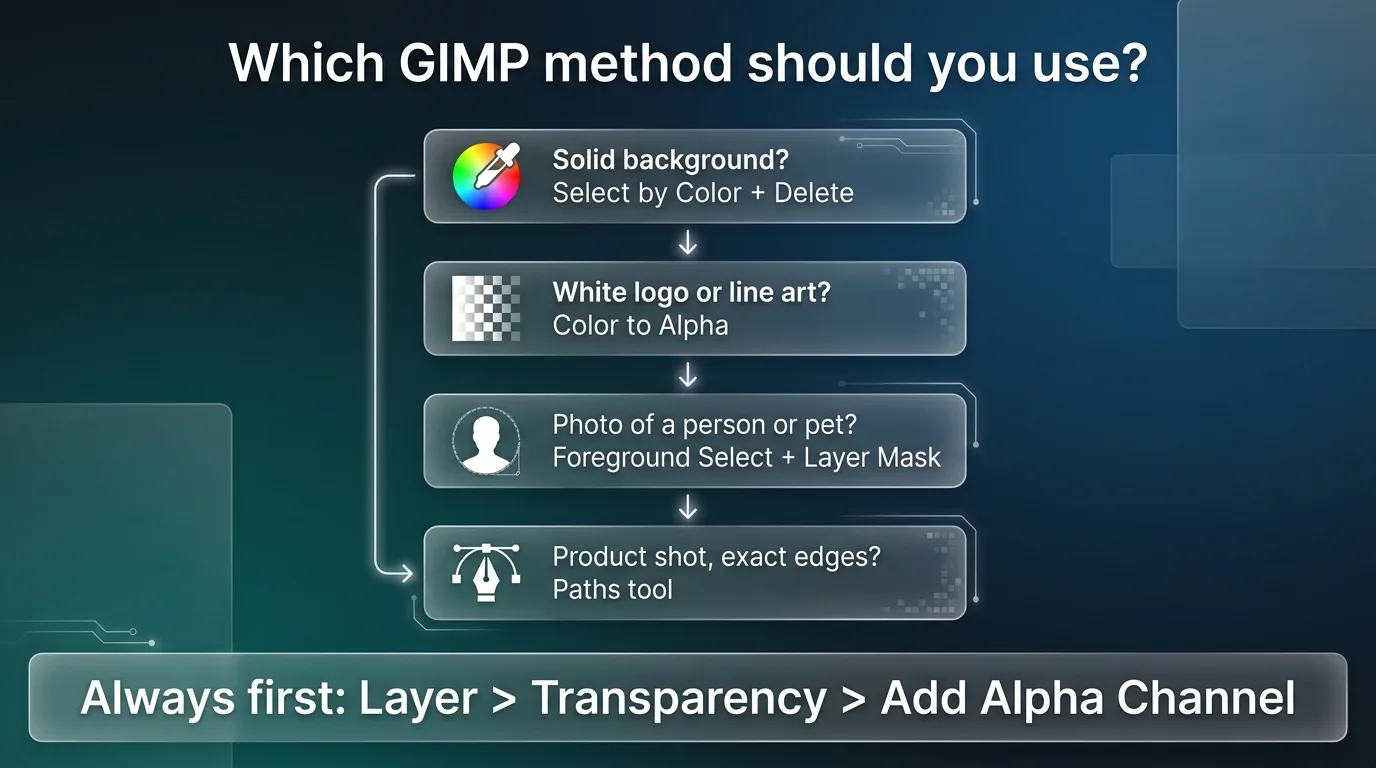
So before anything else, Layer > Transparency > Add Alpha Channel. If the option is grayed out, the layer already has one and you're fine.
That single menu item explains most of the "why is it white instead of transparent" threads on the GIMP forums. With it out of the way, pick the method that matches your image. Four of them below, in order of how often they're the right answer, and everything applies to GIMP 2.10 and 3.0 alike.
Method 1. The fastest way to make a transparent background in GIMP
Select and delete. The default route for logos, screenshots, and anything on a plain backdrop.
- Layer > Transparency > Add Alpha Channel (yes, again, it's that important).
- Take Select by Color (Shift+O). One click selects every pixel of that color across the whole image, which is what you want for a solid backdrop. Fuzzy Select (U), the magic wand, grabs only the connected region instead, better when the background color also appears inside your subject.
- Click the background.
- Check the Tool Options panel. Threshold decides how far from the clicked color the selection spreads. The default of 15 is conservative; raise it toward 30 to 50 if background speckles survive, lower it if the selection eats into the subject. Keep Antialiasing on.
- Press Delete. Checkerboard appears, and checkerboard means transparent.
If islands of background remain (between an arm and a body, inside letters like O and A), hold Shift and click each one to add it to the selection before deleting. Obvious once you know. I watched someone delete-undo-delete for five minutes because they didn't.
Method 2. How to make a white background transparent in GIMP
Colors > Color to Alpha converts a chosen color into transparency everywhere at once, and it handles the thing selection tools are worst at. Edge pixels.
An antialiased logo on white has a rim of pixels that are partly white, blending letter into background. Select-and-delete either keeps that rim (white fringe on your cutout) or eats into the letters. Color to Alpha instead makes those edge pixels partially transparent in proportion to how white they were, so edges stay smooth on any new background.
- Add the alpha channel as always.
- Colors > Color to Alpha.
- The color defaults to white. Click the swatch to change it for other backgrounds.
- In GIMP 2.10+, drag the Transparency threshold up a little if faint gray remnants stay behind, and watch the preview.
- OK, then export.
The trade-off, and the reason this isn't method 1: it removes the color from the entire image. A white background disappears, and so does the white in someone's shirt. Use it on logos, text, line art, and diagrams. On photos, select the background region first so the effect only applies inside the selection.
Method 3. Removing a photo background in GIMP
People, pets, products against a busy scene. Color-based tools have nothing to grab there, so you tell GIMP what the subject is.
- Take the Foreground Select tool and draw a rough loop around your subject. Rough is fine.
- The view darkens. Paint a few strokes across the subject, over hair and skin and clothing, so the tool learns what to keep. Toggle the preview, add strokes where it guessed wrong.
- Press Enter to turn it into a selection.
- Select > Invert (Ctrl+I), since you want to remove the background rather than the subject.
- Instead of deleting, go Layer > Mask > Add Layer Mask, choose Selection, and invert if the wrong side vanished.
The mask is the professional habit worth stealing. Deleting throws pixels away; a mask hides them, so painting white or black on the mask brings any edge back, five minutes later or five days later.
Ninety seconds for a logo, closer to ten minutes for a portrait with hair you care about. Somewhere in that gap is the point where I'd hand the photo to the browser background remover instead, get the cutout automatically, and keep painting in GIMP on top of it. It runs on your device without uploading the photo anywhere.
Method 4. The Paths tool, when edges must be exact
Product shots for a store listing, anything with clean geometric edges, anywhere a wand selection looks chewed.
Click node to node around the object with the Paths tool (B), curve the segments by dragging, close the loop, then press Enter to convert the path to a selection. Invert, delete, done. Slow, and completely deterministic, no threshold guessing. For a bottle or a box this produces the cleanest edge GIMP can make.
Feather the selection by 1 pixel first (Select > Feather) if the hard edge looks too crisp against a photo, which sounds backwards but shows up immediately when you composite it.
How to make an image transparent in GIMP (the whole image)
Different question, quick answer. When you want the entire picture see-through, a watermark or an overlay, no selection is involved.
Open the Layers panel and drag the Opacity slider down on the image's layer. 30 to 50 percent reads as a watermark. Export as PNG and the partial transparency comes with it.
Creating a transparent background from scratch
Starting a new design rather than cleaning an existing one? File > New, open Advanced Options, set Fill with to Transparency. The canvas begins as checkerboard, and whatever you paint is all the pixels there are.
Exporting so the transparency survives
This is where finished work gets ruined, so, slowly.
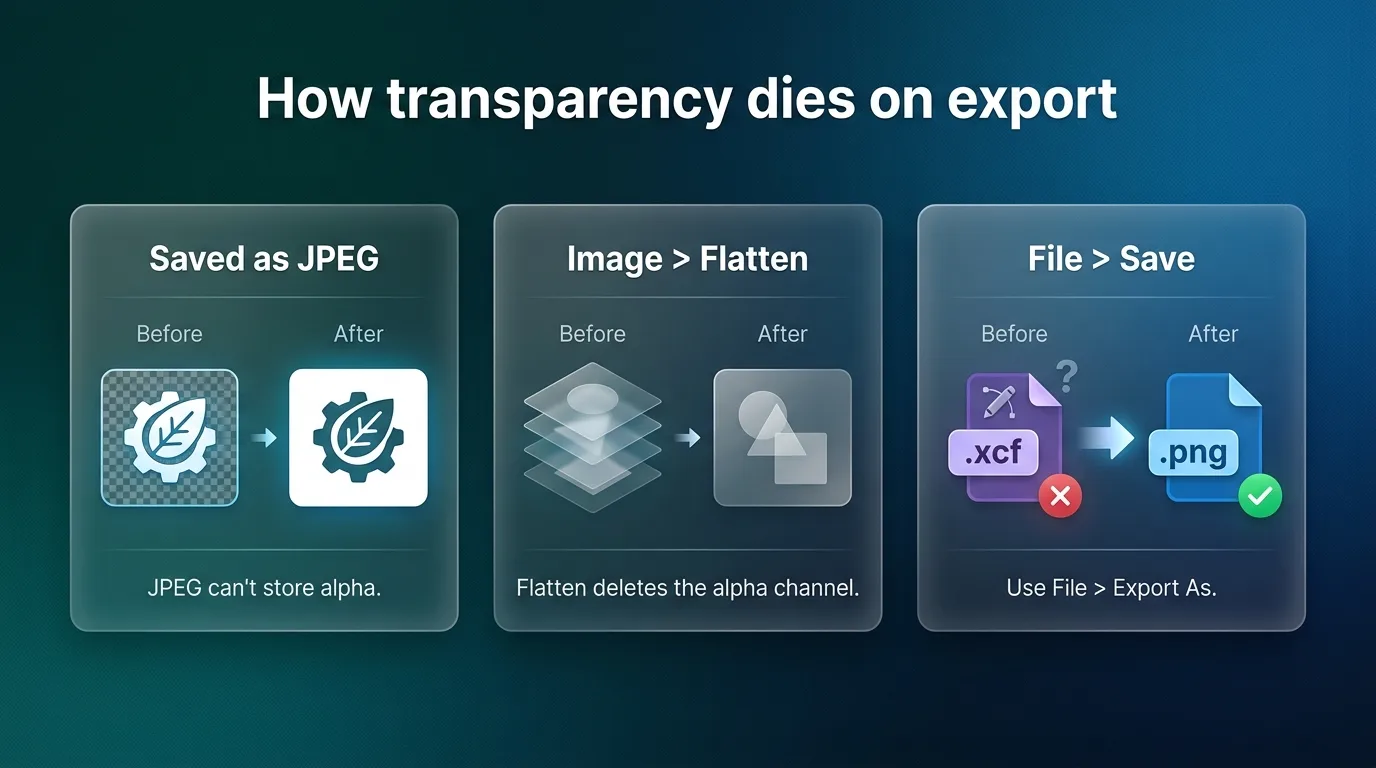
- File > Export As, not File > Save. Save produces a .xcf project file. Export As with a filename ending in .png produces the transparent image you wanted.
- JPEG cannot store transparency. Export to .jpg and every transparent pixel turns white, silently. WebP is the smaller-file alternative that keeps alpha.
- Don't flatten. Image > Flatten Image merges everything onto an opaque background and kills the alpha channel without a warning dialog.
- GIF supports only 1-bit transparency, each pixel fully solid or fully clear. Fine for pixel art, jagged for everything else.
The official GIMP docs keep a page on transparency and web export if you want the long version.
Transparent PNGs run large, so if the file is heading to a website, squeeze it with the PNG compressor or resize it first with the Image Resizer.
Fixing the classic failures
Deleted the background, got white. No alpha channel. Undo, Layer > Transparency > Add Alpha Channel, delete again.
Pale fringe around the cutout. The selection stopped a pixel short of the subject. Reselect the background, run Select > Grow by 1 pixel before deleting, and the fringe goes with it. Color to Alpha avoids the problem entirely on light backgrounds.
Exported PNG still has a background. The image got flattened somewhere, or the export happened from a different file than the one on screen. Check the layers panel for the checkerboard before exporting.
Semi-transparent junk pixels left floating. Layer > Transparency > Threshold Alpha pushes almost-transparent pixels to fully transparent and almost-solid ones to solid.
I once exported the same church-picnic poster three times wondering why the printery kept getting a white box behind the title, and it was the flatten, every time, done absentmindedly while cropping. Check the checkerboard before export and you skip that whole afternoon.
FAQs
For a different output format, PNG to WebP is worth testing with your transparent export. If the cutout is headed for a text-based illustration, the ASCII art settings guide explains how to prepare the image for that next step.
Why does GIMP make the background white instead of transparent? No alpha channel on the layer. Layer > Transparency > Add Alpha Channel, then delete the background again. This is the answer roughly nine times out of ten,, the tenth is a JPEG export.
How do I make just one color transparent? Colors > Color to Alpha, click the swatch, pick the color. Confine it to a selection first if that color also lives in your subject.
Do these steps work in GIMP 2.10? Yes, and in GIMP 3.0. The menu paths here (Add Alpha Channel, Color to Alpha, Export As) are unchanged between the two.
Is there a faster way for ordinary photos? The background remover does subject detection automatically in your browser and exports a transparent PNG. GIMP earns its keep when you need control over every edge; the remover is for when you need it done by Tuesday.