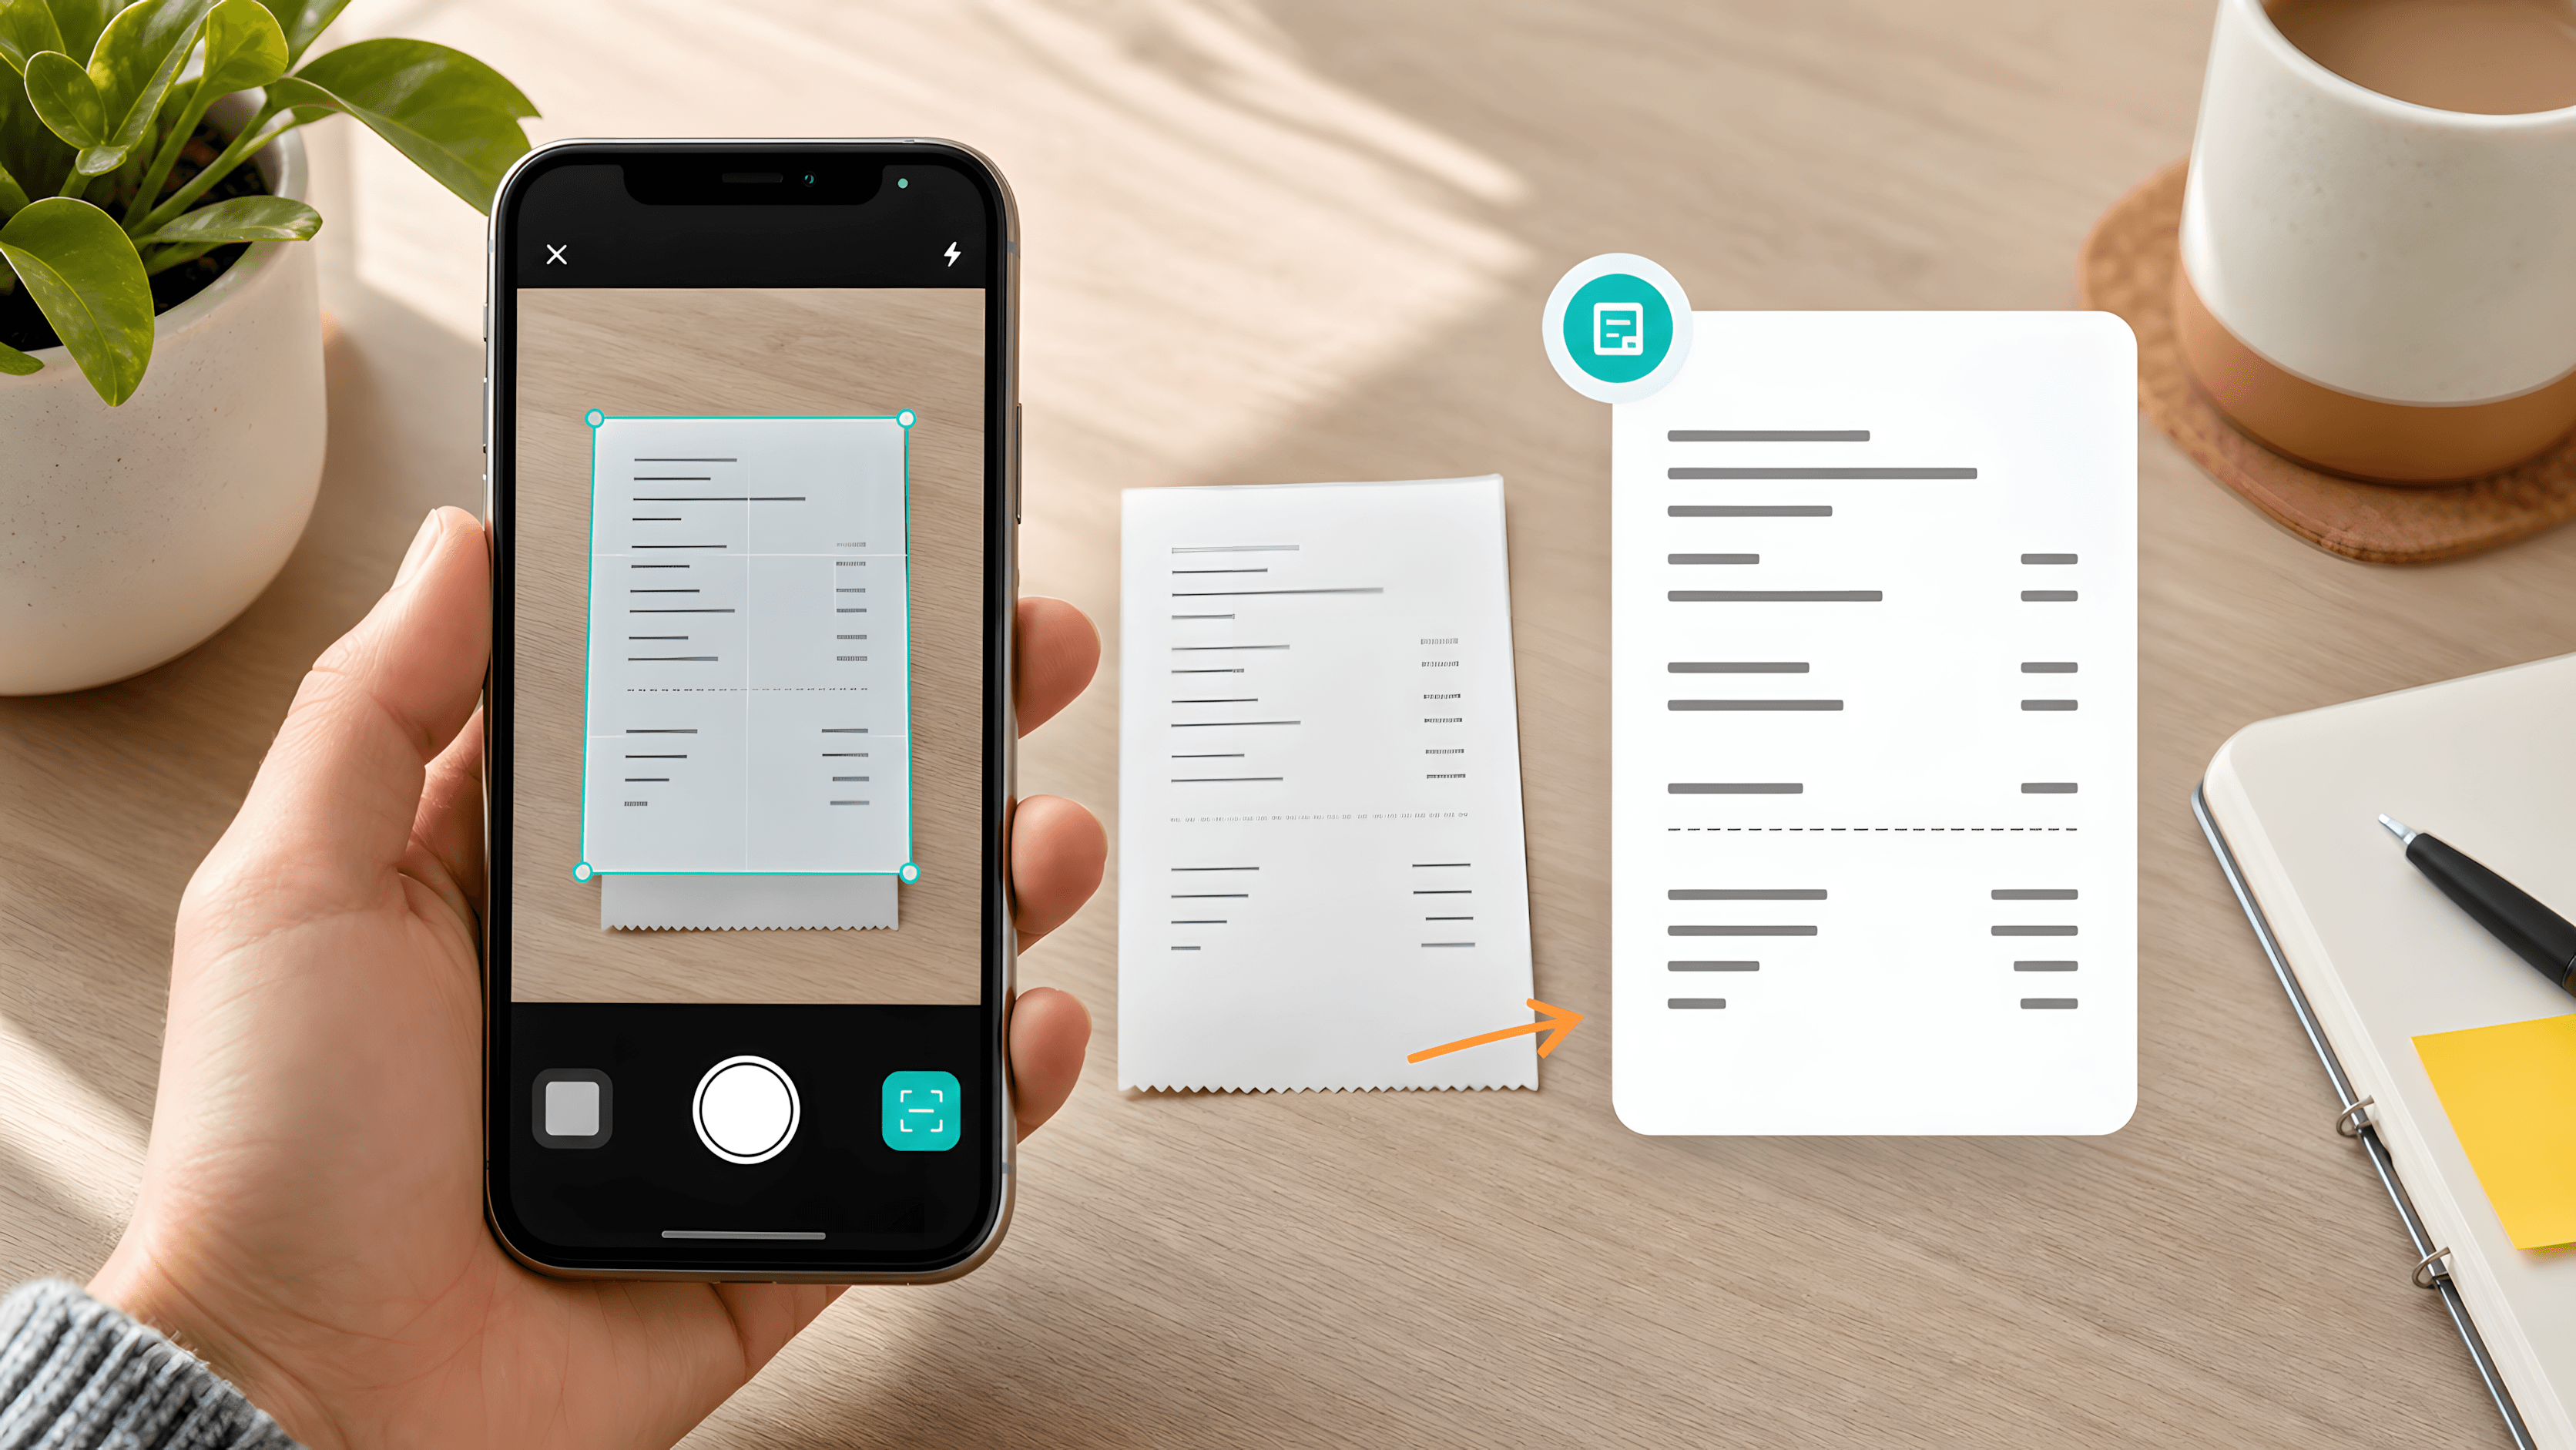
You almost certainly don't need to install anything. That's the annoying part of this whole topic — half the internet is selling OCR tools for a job your phone's been able to do since 2021, quietly, in the Photos app, without anyone telling you.
Quick version, if you're in a hurry:
| Device | What to do | Takes about |
|---|---|---|
| iPhone / iPad | Press and hold the text in Photos | 3 seconds |
| Android | Google Photos → Lens → Copy text | 5 seconds |
| Windows 11 | Win + Shift + S, then Text Actions | 5 seconds |
| Mac | Open in Preview, select, ⌘C | 3 seconds |
| Anything else | A browser OCR tool | 10 seconds |
| Scanned PDF | Google Drive, open with Docs | 30-ish seconds |
Everything below walks through each one. But first, a question the other guides tend to skip entirely.
Where does the picture actually go?
Most "extract text from image" websites upload your file to a server somewhere, run recognition on it, and hand text back. Fine, technically. Except think about what people actually run through these tools — screenshots of a private conversation, a photo of a payslip, a passport for some form, a whiteboard nobody outside the building's supposed to see. Medical stuff. Once that leaves your device it's governed by a privacy policy you didn't read and a retention window you can't check.
Two kinds of tool avoid this entirely. Your phone or laptop's built-in OCR runs locally, full stop. And a handful of browser-based tools load the recognition model into the page itself, so the image never leaves your machine — you can literally watch the network tab while it runs and see nothing go out. That's the honest version of "free," as opposed to "free because we're the ones storing your documents now."
Cloud OCR isn't a scam, to be clear. It's often more accurate on rough scans, actually. Just pick it on purpose, not by default.
iPhone and iPad
Live Text's been baked into iOS since version 15, so unless you're on something genuinely ancient, it's already there.
Open the photo. Press and hold on the text — actual text, not the whole image — and you'll get selection handles, same as selecting a sentence in Notes. Drag, then Copy. Done.
For grabbing everything at once, there's a small icon in the bottom right of the photo that looks like text stacked inside brackets. Tap it, then Select All, then Copy. And this works before you even take the picture — point the camera at a page and the same icon shows up right in the viewfinder. You genuinely never have to save the photo at all if you just need the text out of it.
It works in Safari too, and Quick Look, and even on a paused video frame. If none of this is happening, check Settings, General, Language & Region, and make sure Live Text is switched on down there.
Android
Same idea, different app — Google Lens, sitting inside Google Photos already.
Open the image, tap the Lens icon along the bottom, tap Text, then Copy text. Tapping one word selects just that word; drag the little handles out if you want more.
Two things worth knowing that don't get mentioned enough. Circle to Search, on newer Pixels and Galaxy phones, does this same recognition on literally anything on your screen — long-press the home button or the nav bar and circle whatever text you're looking at, even inside some other app. And Google Keep has a "Grab image text" option buried in the three-dot menu on any photo note. Genuinely the fastest way I've found to get messy screenshot text into something editable.
Windows 11
Two options here, and the second one nobody uses, which is a shame because it's better.
Snipping Tool first. Win + Shift + S, drag over the region, click the little notification that pops up to open it in Snipping Tool proper, then Text Actions, then Copy all text. There's also a Quick Redact button in there that blanks out anything that looks like an email or phone number before you send the screenshot to someone — handy if you're sharing a form and don't want to manually black things out.
Then there's PowerToys. Microsoft's own utility pack adds Win + Shift + T once installed, and it skips the whole capture-and-open dance completely. Drag over a region of the screen, text lands on your clipboard immediately. No window opens. Nothing gets saved anywhere. If you pull text off your screen more than occasionally, this is faster than every other method on this page, full stop.
Windows 10 doesn't get Text Actions in Snipping Tool at all. Use PowerToys instead, or right-click an inserted picture in OneNote and pick Copy Text from Picture.
Mac
Live Text showed up in Monterey and hasn't left since.
Select the file in Finder, hit Space for Quick Look (or just open it in Preview), then drag across the text like you're highlighting a sentence in a document. ⌘C when you're done. The cursor turns into a text I-beam wherever it recognizes something, which is the tell that it's actually working and not just sitting there. Same trick works in Safari, Messages, Notes, anywhere an image shows up on screen really.
In a browser, no upload
This is for when the built-in stuff isn't an option — a locked-down work laptop, Linux, someone else's computer, or a stack of twenty images you'd rather not hand over to a random cloud service one at a time.
Open a browser-based OCR tool, drop in the image (PNG, JPG, WebP, screenshot, whatever), copy the result out. That's the whole flow.
Three settings actually change what comes out the other end, and they're worth understanding rather than leaving on default:
- Minimum confidence starts around 50%. Push it up toward 70 or 80 if the output's full of garbage characters. Drop it down toward 30 if real words are going missing from a faded scan — you'll get more noise, but you'll get the words back too.
- Output format. Plain text most of the time. JSON if you need to know exactly where on the image a phrase was found, since each detection carries its own confidence score and a bounding box alongside the text.
- How lines get joined. New-line mode tries to keep the original layout — roughly groups text by vertical position so a table or two-column page doesn't turn into soup. Space mode just flattens it all into one paragraph, which honestly is what you want most of the time if you're about to paste a photographed paragraph into a document and reflow it anyway.
First run of a session is slower than the rest, noticeably so, because the recognition model itself has to download into your browser before anything happens. After that it's cached and every image after the first is quick.
Scanned PDFs and multi-page stuff
Google Drive handles this one for free and does it well. Upload the file, right-click, Open With, Google Docs. It runs OCR automatically and drops you a document with recognized text sitting under each page image. Copes fine with rough scans, handles a wide range of languages. Trade-off's obvious: the file's now on Google's servers.
Adobe Acrobat has Scan and OCR, then Recognize Text, and it writes a searchable text layer straight into the existing PDF without touching how the pages look. That's the right call when the file genuinely needs to stay a PDF and not become a Google Doc.
And macOS Preview can select text directly in any PDF that already has a text layer baked in — if clicking around does nothing, that's your sign the PDF is just images and needs OCR run on it first.
Getting a result you can actually trust
A few things decide accuracy before you even open the tool, and honestly this is the part most guides skip past.
Character height matters more than image size. Not the photo's dimensions — how tall, in actual pixels, each letter is once it's on screen. Something like 20 pixels of character height is roughly the floor for anything reliable. Below that you're asking the model to read tea leaves. Which is why zooming in before you screenshot beats blowing up a tiny crop afterward every single time — enlarging a blurry image just makes bigger blurry pixels, it doesn't invent detail that was never captured.
Contrast matters too, dark text on a light background being what these models were mostly trained on. Light text on dark backgrounds usually works, just measurably worse. Text sitting over a photo or a gradient is the hardest case there is, so if a dark-mode screenshot's giving you garbage, try inverting the colors first.
Straight matters more than people expect — even a few degrees of tilt on a photographed page and lines start merging into each other or dropping entirely. Shoot square-on, or straighten it after the fact.
Glare and shadow are probably the single biggest reason phone photos of paper fail. A window reflection wipes out an entire section like it was never there. My own rule, learned the hard way trying to scan a lease agreement near a sunny window: move the paper, not the phone, and watch you're not casting your own shadow across the page while you're at it.
File format, quickly — PNG beats JPEG for the same content, because JPEG compression puts ringing artifacts right around high-contrast edges, which is exactly where the edges of letters live. Small text takes the worst of it.
And crop first if you can. Cutting the image down to just the text block, no logos, no toolbar, no interface chrome sitting around the edges, genuinely improves both speed and accuracy, since none of that clutter gets mistaken for stray characters.
What this still can't really do
Worth knowing the limits up front, saves everyone some time.
Handwriting, cursive especially, is rough. Most general OCR doesn't even really attempt joined-up writing, and accuracy falls off a cliff compared to printed text. Tables come back as a stream of words in reading order, not an actual grid — the column structure's gone, and you rebuild it by hand or you don't bother. Math notation (fractions, integrals, little subscripts) tends to come out mangled; there are specialist tools for that, this isn't one of them. Decorative fonts, script fonts, logo-style lettering — degrades badly. Text sitting over a busy photo background, same problem. And anything under maybe 10 pixels of character height is basically unreadable to the model, there's just no signal left there to work with.
Double-check these before you trust it
Some mix-ups happen constantly because the letter shapes genuinely look alike to a computer:
| Gets confused | Why |
|---|---|
| 0 and O, 1 and l and I | Nearly identical glyphs in a lot of sans-serif fonts |
| 5/S, 8/B, 2/Z | Similar shapes once resolution drops |
| rn read as m | Two letters merge into what looks like one |
| cl read as d | Same story |
| - – — | Hyphen, en dash, em dash, all basically twins |
Line breaks rarely survive a photographed paragraph, so plan on rejoining lines yourself. Trailing spaces sneak along at the end of lines too — worth a strip before you paste anything into code or a spreadsheet, or you'll get weird invisible bugs later.
If you're pulling a password or a license key or a serial number off an image, check it character by character. Genuinely. That's exactly where 0 and O will quietly wreck something and you won't notice until it doesn't work.
Quick answers
Can I do this without paying for anything? Yeah — Live Text on iPhone and Mac, Google Lens on Android, Snipping Tool on Windows 11, all free, all running locally on your own device. Browser OCR tools cover whatever's left.
Does it work on an actual photo, not just a screenshot? It does, just worse. Photos bring angle, glare, shadow, JPEG artifacts, all the stuff a clean screenshot doesn't have. Shoot square to the page in decent light and it's fine.
What about handwriting? Mostly no. Neat block capitals sometimes squeak through. Cursive, in my experience, almost never does.
Which languages work? Depends entirely on the engine. Apple, Google, and Microsoft's built-in versions cover dozens of languages including non-Latin scripts. Browser-based tools tend to be tuned mostly for Latin scripts, so test with your actual material before trusting it for anything important.
Is uploading a screenshot somewhere ever fine? Sure, if you know the retention policy and there's nothing sensitive in it. For anything financial or personal, stick to on-device OCR or a browser tool that doesn't upload at all.
Why's the first one always slow? The model has to download into the browser the first time you use it in a session. Cached after that.
Can I pull text out of a video? Pause on the frame, screenshot it, run OCR on the screenshot same as any other image. Live Text on iOS can actually do this directly on a paused frame without you screenshotting first.